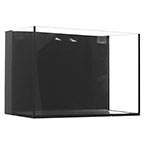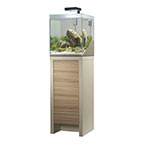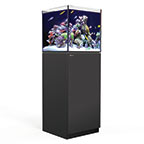
Additional sizes may be available!
Additional sizes may be available! Email me when available|
Product Notes:
· We cannot ship this product to Alaska. |
Overview
| * | Glass aquarium and cabinet set with all key equipment to ease setup |
| * | Included stand beautifully integrates aquarium with home interior |
| * | Built-in drain valve with drain hose make aquarium water changes easy |
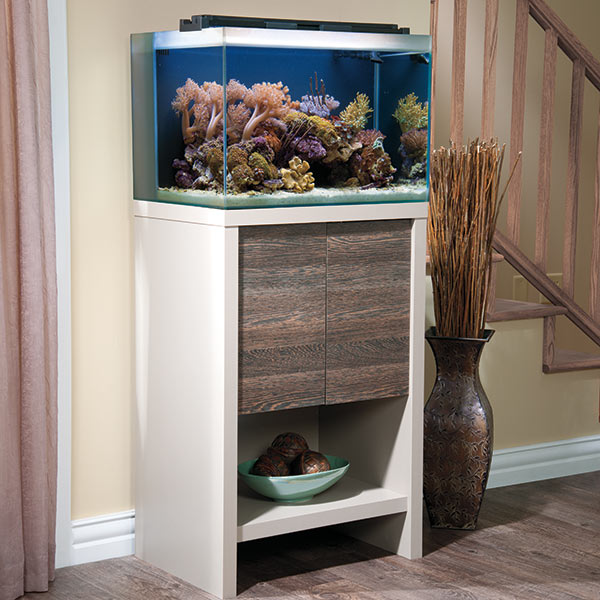
Inclusive reef aquarium kit available in 14-gallon M40 or 24-gallon M60 models boasts easy set up and maintenance to enhance the reef keeping experience. Fluval Reef Aquarium Set comes with a glass aquarium with frosted rim framing, a high-quality laminated cabinet with 2-tone doors, Marine & Reef High Performance LED Light*, Fluval Sea Protein Skimmer, Fluval Sea CP1 Circulation Pump (Model M60 only), Filter Pump, and Fluval Sea Marine Salt to help you recreate a successful reef aquarium at home!
Fluval Reef Aquarium Set integrates beautifully with your home interior with its clean lines and contemporary design. Unique frosted-rim frame keeps unsightly water lines out of view while the integrated compartment conceals the bulk of the equipment. Included high-efficiency full-spectrum LED light emits essential actinic blue wavelengths for optimal coral photosynthetic activity and growth while maintaining an aesthetically pleasing viewing experience.
Fluval Reef Aquarium features a built-in drain valve with drain hose for convenient water changes. This simple valve system inside the cabinet allows you to easily change up to 20% of aquarium water volume without exposing sensitive corals to air. Elegant two-tone cabinet is constructed from high-quality laminated wood to beautifully showcase your reef aquarium display and neatly conceal all hardware within.
*14-gallon M40 comes with the 14W Fluval Sea Nano Marine & Reef High Performance LED Lamp measuring just 5.5" x 6". 24-gallon M60 comes with the 25W Fluval Sea Marine & Reef Full Spectrum Performance LED Strip Light adjusts from 24"-34" in length and features 6 unique LEDs, including 400, 420, 440, 460 nm LEDs for outstanding blue spectrum coverage.
Key Features:
- Stylish reef aquarium and cabinet set
- Glass aquarium with frosted rim framing and a high-quality laminated cabinet with two-tone doors
- Integrated compartment houses a filter, Fluval Sea Protein Skimmer and Fluval Sea CP1 Circulation Pump for healthy water circulation and outstanding filtration
- Practical drain valve with drain hose for easy and convenient water changes
- Powerful day & night illumination with 3 settings: ON (day, night) and OFF switch
- All hardware is neatly concealed in the cabinet so that you can enjoy a pleasing aesthetic experience
| Specifications | ||||
| Fluval Reef Aquarium Set | Aquarium Size | Circulation Pump Flow Rate | Light | |
| 14 gallon M40 (Mfg# 15120) |
15.7" x 16.5" x 15.7" high | 15.7" x 16.5" x 35" high | N/A | 156 LEDs 25,000K |
| 24 gallon M60 (Mfg# 15125) |
23.6" x 16.5" x15.7" high | 16.5" x 23.6" x 35.4" high | 425 gph | 312 LEDs 25,000K |
Manufacturer recommendation for stocking levels: Allow 1 inch of body length of fish (excluding tail) per US gallon of water. Miniature fish species must be kept in shoals of at least 4 or 5 individuals.
Remove all contents from the box. Before you begin, identify, count and check that you have all the parts needed for assembly.
Leakage test: Before setting up your tank, fill the aquarium with water and leave it for 48 hours in a wet room (bathroom / laundry room, etc.) in order to check for leakage. Note that the tank should not be placed directly onto the tile or concrete floor, the aquarium needs to be first be placed on top of a piece of Styrofoam, foam, carpet or similar type of material for this test.
Placing the Aquarium with its Cabinet in the Final Location
The location of the aquarium is very important. Place it away from direct sunlight. This will reduce the chances of excessive algae build-up and prevent overheating. Keep the aquarium away from heat sources such as air ducts, radiators, etc. Drafts should be avoided as well. Do not place the aquarium where water spills will cause damage.The cabinet is specifically designed to bear the weight of a completely filled aquarium. Using a different cabinet or support may cause an unsafe condition.
The selected location should have an even and level surface. Place the aquarium and cabinet close to an electrical outlet. After placing the cabinet, use a level to ensure that it is perfectly level.
IMPORTANT: Place the aquarium tank directly on the cabinet without any additional support or damper in between. NEVER insert lining between the cabinet and aquarium.
M40 Reef Aquarium Set
- Add plumber's tape and install 90° degree angle and valve.
- Insert Skimmer.
- Install Pump.
- Install Hosing.
- Connect Output Flare Nozzle.
- Threaded Suction Strainer.
- Lamp & Tape Mounting Bracket Instructions
- Surface Preparation
- Surface temperature for application should be no lower than 60°F degrees (16°C) and not higher than 85°F degrees (29°C).
- If climate will not permit, move unit to appropriate conditions.
- Area to receive tape should first be thoroughly cleaned with a liquid detergent and warm water solution.
- Rinse with clean water and dry completely.
- A final wipe with 50/50 alcohol/water is highly recommended for best results (use a clean lint free cloth).
- Ensure surface is dry and residue free before proceeding.
NOTE: Failure of proper tape bonding may be attributed to one of four items:
- Poor surface preparation and/or application.
- Poor adhesive contact: exposed adhesive side of tape being touched or contaminated.
- Insufficient pressure being applied.
- Lamp hung too soon, tape not fully cured.
Tape Bond Will Take 24 Hours to Cure. Do Not Install Lamp During this Period.
- Remove the protective film from the Lamp Mounting Bracket. Affix the Lamp Mounting Bracket to the outside of the tank in desired location; aligning the rim of the Lamp Mounting Bracket with the tank rim and press firmly applying pressure while gently twisting to ensure proper adhesion. Note: The position of the Lamp Mounting Bracket cannot be changed after it has been affixed. Do not place the mounting bracket over the back wallpaper. It must be applied directly onto the aquarium glass. TAPE BOND WILL TAKE 24 HOURS TO CURE. DO NOT INSTALL LAMP DURING THIS PERIOD.
Attention: Before filling the aquarium with water, first fill the Filter Chamber until the water level is above the drain valve to assure that everything is watertight. Please make sure that the water level in the aquarium is always high enough to allow the water to circulate back into the filter chamber.
M-60 Reef Aquarium Set
- Before placing the tank onto the cabinet, add plumber's tape and connect the valve at a 90° angle.
- Insert Skimmer.
- Install Pump.
- Install Hosing.
- Put the Output Nozzle through the round hole in the Filter Chamber and connect with The Joint Hose Connector. For stabilization, use the supplied Rubber Seals. Connect output Flare Nozzle.
- Add the Suction Strainer.
- Install Filter Cover & position light.


